If you have hardwood floors in your home, you might not realize that you can actually customize them by adding a new paint color to the wood. This article will take you through the steps required for painting a hardwood floor.
When Not to Paint Floors
If you have an older house with the original, untouched hardwood floors, it is not recommended to paint them. However, if the floors have already been painted by a previous owner, there is no harm in putting another coat on them.
Also, if your hardwood floors are very damaged, it might not be worth painting them. Instead, it may be best to refinish them first or reinstall new hardwood floors.
Getting Creative
In the event of a room renovation, painting the wood floors is a very creative option. You can even add more than one color by painting certain pieces of wood a different shade.
You can either paint every other strip of wood the second color, paint every few pieces of wood a different color in chunks, or any other pattern that you can imagine.
You can also use some white paint in your chosen color and make each strip of wood a little lighter as you go. This will give your floor a neat ombré effect.
Steps for Painting Your Floors
Now that you have some creative ideas in mind, let’s get into the steps you should follow to get your hardwood floors painted.
What You Will Need
First, you need to gather your supplies. You can pick up flat latex paint or a paint designed specifically for floors, two paint brushes, finishing wax, a cleaning solution or vinegar, and warm water.
You can also use painter’s tape around the trim if you think you need it to avoid an accident.
Clean Those Floors
The first thing you should do is thoroughly clean the floors to ensure the paint sticks to the wood properly.
Vacuum or sweep up all visible dust and other debris before scrubbing them. Next, you can use dish soap and warm water, vinegar, or a cleaning solution meant for floors and a nonabrasive sponge to wipe down the hardwood.
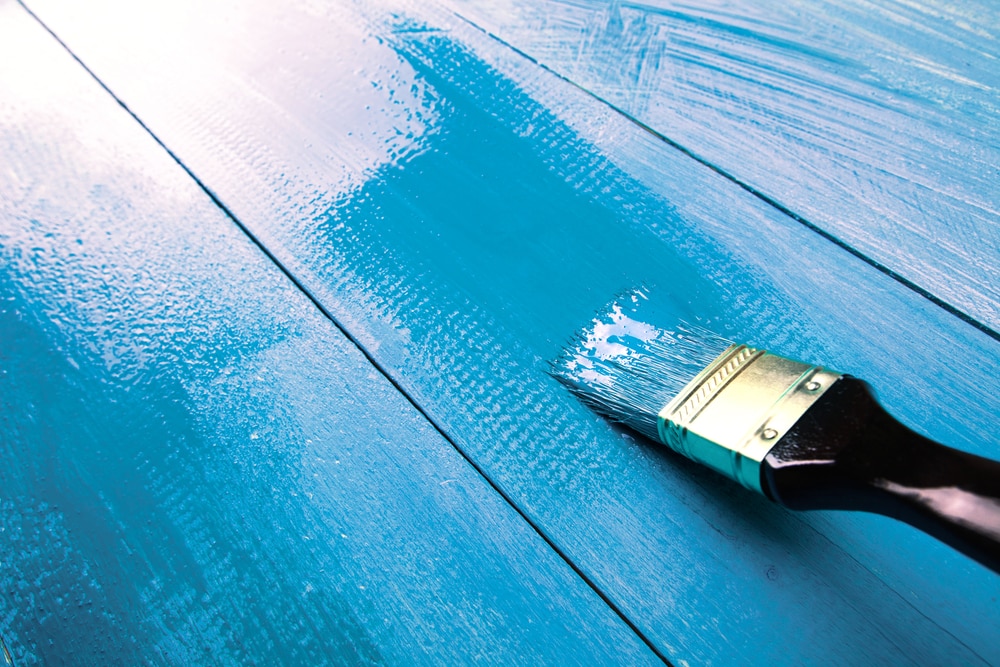
Cut in First
It is important for you to start painting from the outside and work your way to the center of the floor. Thus, you should start by cutting in around the trim, pulling your brush toward the center of the room along one strip of wood at a time.
You can apply painter’s tape to the trim if you would like that extra protection. If you are using multiple colors, make sure to let each one dry before adding the next.
Additional Coats
You should wait at least two hours for your first coat of paint to dry prior to adding additional layers to the floor. It should not feel sticky to the touch.
The thicker you paint the initial coats, the fewer layers you will need.
Finish the Floors
After letting the paint dry for about 48 hours, you can add your finishing wax to seal the floors.
Simply dip your second brush into the wax, and apply it to the entire floor, brushing it onto two rows of wood at a time. Once this has dried, your freshly painted hardwood floors are ready for furniture.